How to teach Agriculture with drones (Get Valuable Ideas)
Natalie Meiklejohn
12 Jul 2021
Teach Agriculture With Drones
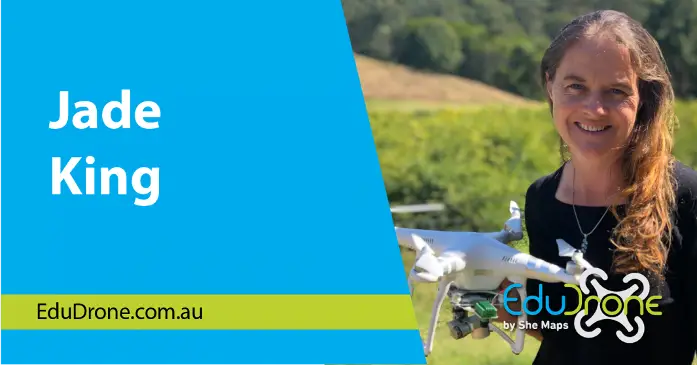
Agri scientist Jade King outlines different ways to teach agriculture using drones.
Did you catch Jade King’s fantastic talk at EduDrone 2020? She shared the success her students are having using educational drones for agricultural monitoring in the Glasshouse Mountains in Queensland, Australia.
Missed it? Don’t stress! Each month in the lead up to EduDrone 2021, we’ll be releasing one of our favourite talks from EduDrone 2020! Tune in each month to get your fix of STEM-spiration. We hope this will keep the ideas flowing all the way through until EduDrone 2021!
Making STEM Education for Secondary Schools Purposeful
Jade King is the Head of Agricultural Science at Glasshouse Christian College, and knows a lot about the uses of drones for agriculture. She has an agronomy background and is even a producer of commercial finger limes!
Jade strongly believes that for successful and authentic agri-tech learning, you have to make technology purposeful like how AI expert Dr Ali Kashani uses technology to revolutionise the food delivery industry. Or how Dr Catherine Nakalambe uses drones to map out refugee settlement plans in Uganda. To achieve this, she integrates drone NDVI, LiDAR, and EM technology into her agricultural classroom. Now I know why you’re thinking – that’s a lot of acronyms!
But Jade talks us through exactly what they are, and how to structure a drone STEM curriculum for your students to use these tools to monitor agricultural crops.
What is NDVI, LiDAR, and EM?
Here is a quick crash course.
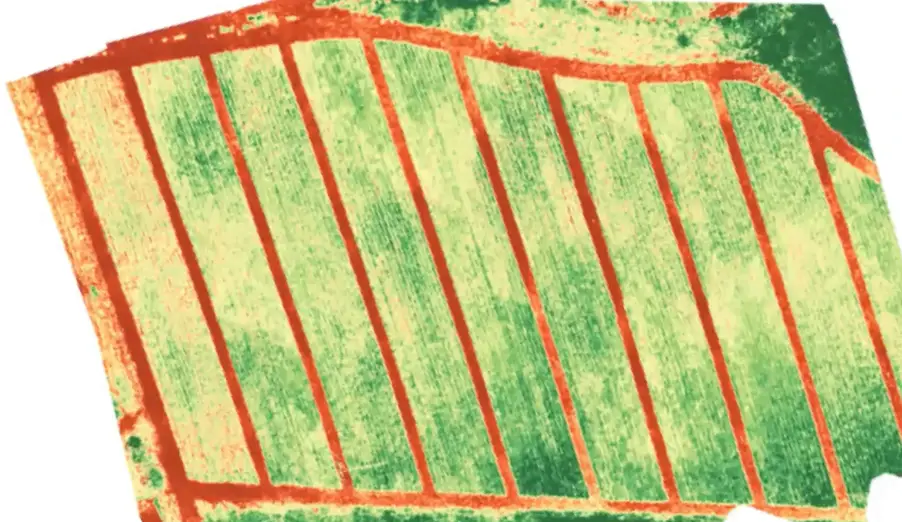
NDVI – An excellent tool for geospatial science for schools, NDVI captures ‘near infra-red’ light, or NIR. This type of light is not visible to the human eye, but is an important indicator of plant health. When plants are stressed, they absorb less NIR. You will need a special camera to be able to capture this with your drone, called a Sentera camera. When you capture images using NDVI, this is what it will look like:
Images to Teach Agriculture with Drones
The colour of the image shows you the level of NIR. Red indicates soil (no reflectance of NIR), and green indicates plant life (some reflection of NIR). The darker the green the healthier the plants are.
LiDAR (Light Detection And Ranging) – determines the height of everything on Earth. Can be used to determine elevation, slope, tree numbers, erosion potential, and much more.
EM (Electromagnetic Mapping) – sends signals into the soil. Detects moisture, salinity, and texture (if it’s sand, silt, or clay). EM gives farmers a good indication of the growing potential of the soil.
An Agri-Tech Drone Education Program for Your School
Now that you know the basics of the technology, let’s look at how Jade teaches drones in schools. This is the key structure of her program:
1. Knowledge
At this stage, students learn about the anatomy and physiology of plants and also about NDVI and near infra-red light.
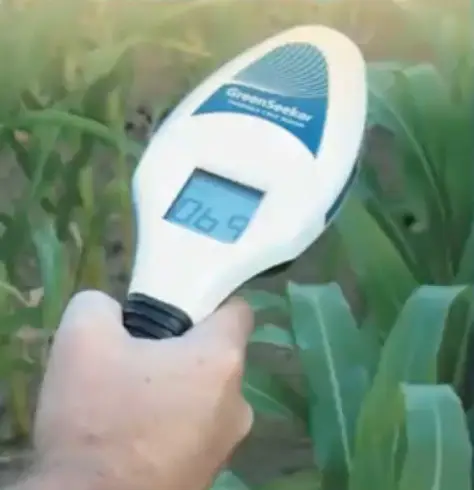
2. Practical Case Studies
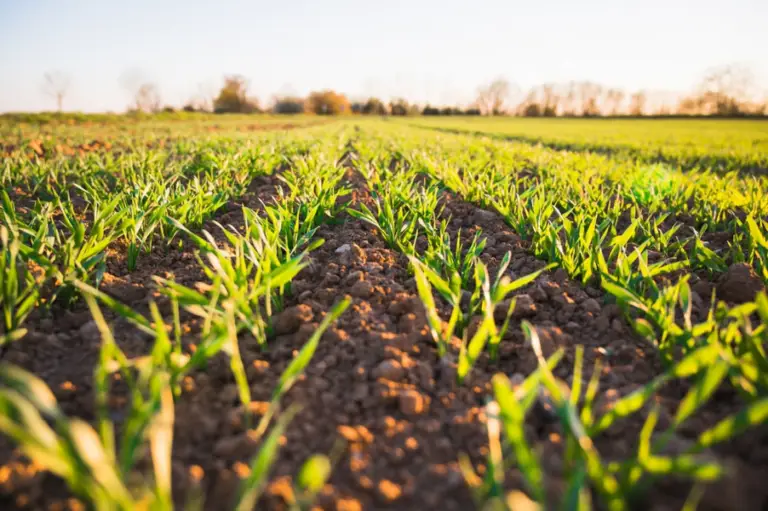
Next, students will manually collect data with a handheld GreenSeeker and determine the different NIR levels in plants. They then look at NIR levels of the same plant under stress. This allows them to understand NDVI and the correlation between NIR and plant health. They also quickly learn that it’s hard to cover an entire paddock with a handheld device! This is where drones come in.
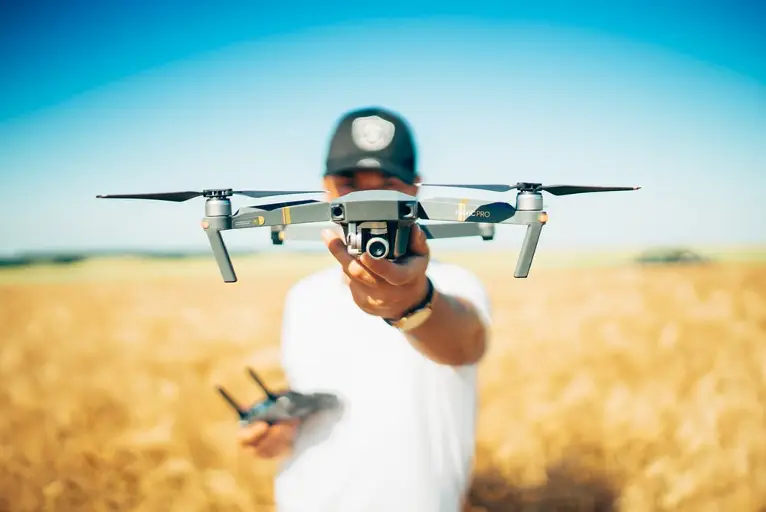
3. Drone Lessons
Now it’s time to get the students confident in drone flight. Jade likes to make sure that the students are really confident with manual flight before they start using DroneDeploy, as she needs to ensure they will be able to bring the drone back safely if something disrupts the automated flight. This is her process for basic and advanced drone programs:
Safety module
Practice doing virtual flights
Practice flight with set limit of 30m
Practice large flights with manual operation
Provide basic photographic tasks to do
Learn DroneDeploy
4. Field Work
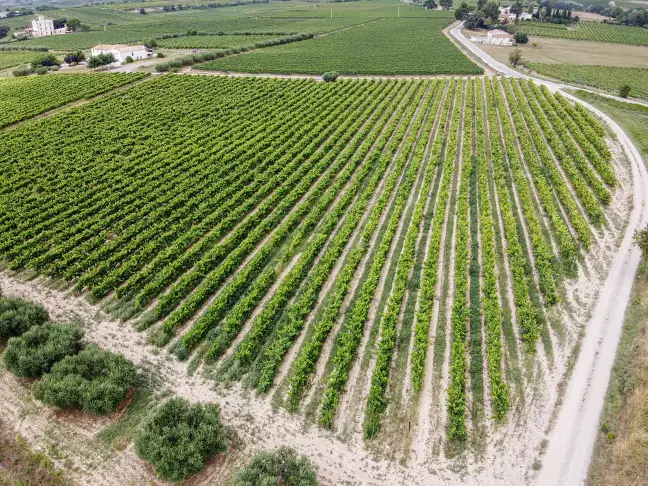
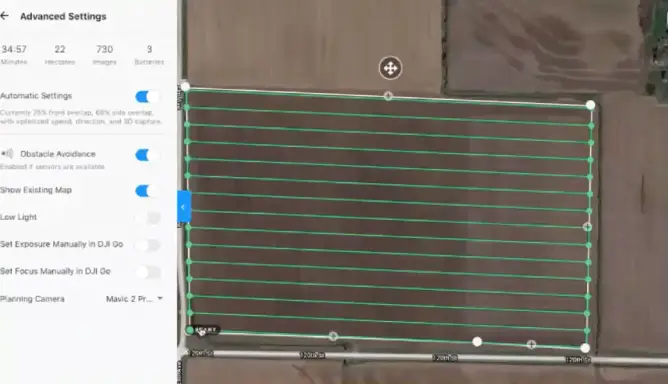
Part of Jade’s agri-tech drone curriculum is to have students travel out to a property and act as agricultural consultants, doing NDVI scanning and providing recommendations to farmers.
In DroneDeploy, they outline the paddock they’re working on and determine the overlap (increasing overlap makes for better images!). Once everything is marked out in DroneDeploy, it’s just a matter of pressing start and the drone should complete its mission and return (but if not they’re able to return it with their manual training!)
5. Analysis
Once you get the maps back in DroneDeploy you can interpret them! Students take their three layers – NVDI, LiDAR, and EM – and work with them as KMZ files in Google Earth to look for correlations between soil texture and NDVI, or different slopes and topography of land.
How to Get Students Out to Farms?
With Jade’s agronomy background, and being a farmer herself, she has an established relationship with the farms in her region. So, it’s easy for her to get students out and flying educational drones.
However, Jade assures us that even if you don’t have an existing connection with a local farm – you should reach out!
Once you make a relationship with the farmer, she says that most of them would be happy to have students on their property. Jade suggests offering a two-way exchange of information!
Give the farmers the opportunity to show students what they’re doing on the property.
Give students the opportunity to survey crops.
Jade shows us how easy it is to provide tangible, purposeful opportunities for students to take drone lessons and fly drones, where they learn valuable skills for the future workforce, as well as provide benefits to their local agricultural community.
To learn more about the value drone training and STEM geography offer to students and teachers alike, read here.
Also, check out the video below!
About She Maps.
She Maps is Australia’s leading expert in drone and geospatial education.
She Maps assist schools with the purchasing of drones, school-industry created drone and geospatial teaching resources and highly supportive teacher professional development.
FREE eBook – How to start a drone program at your school – Teachers Guide – Download Now
Learning Solutions Guide – Programs, Products and Pricing Guide – Read now
Ready to buy drones for your school? Browse our convenient classroom kits!
You’re in Safe Hands!
She Maps is a CASA approved commercial operator to fly microdrones indoors with students and teachers. CASA holds commercial operators, to a higher standard than recreational users and educators. This means that She Maps has been assessed by CASA as having rigorous training and risk mitigation procedures in place.
Want some help?
Schedule a call with one of our team members to get some personalised recommendations.
Take our resources for a spin and join the thousands of teachers who love our ready-to-teach classroom materials. Try one of our complete units of work for free.